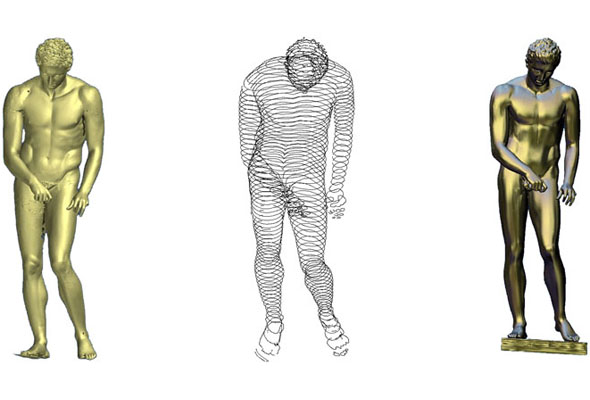
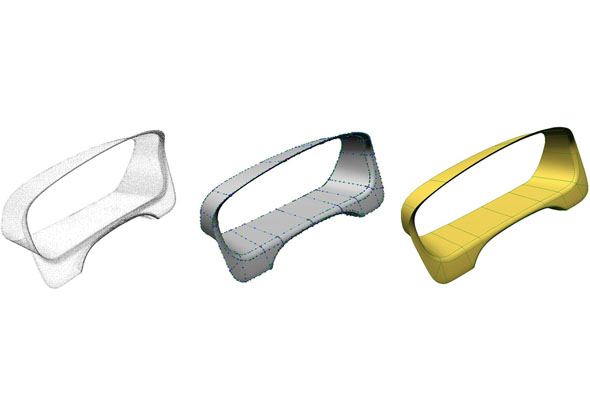
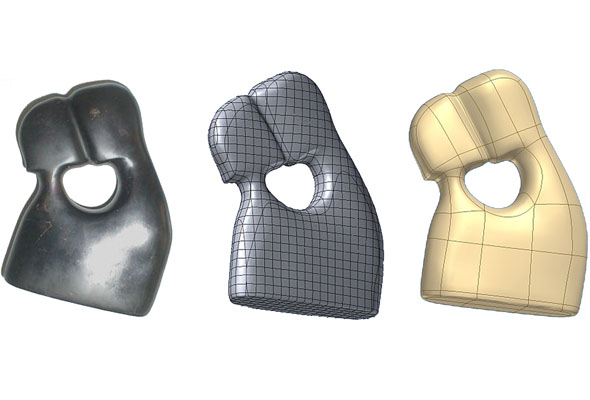
If further processing, production preparation or analysis requires a virtual CAD model based on an existing object, we use reconstruction engineering procedures. Using our optical system, we can within a short period of time measure a large amount of points on the surface of an object that need to be reconstructed. Such measuring results enable a very accurate and fast computer-aided reconstruction of forms, which significantly shortens the time of development and increases the quality of the product.
The measuring results are clouds of points (up to a few million) and a polygonised surface on the object. The final modelling, conversion into the solid form and the preparation of technical documentation are performed using a parametric CAD software according to the requirements of the client.


